HISTORY
This article appeared in Architecturaldigest.com on May 10, 2017.
Sir Edwin Lutyens’s Iconic Design Explained
How Sir Edwin Lutyens’s painstakingly hand-carved design became the standard-bearer for garden seating.
May 10, 2017
Those less familiar with the Arts and Crafts style manor houses of Sir Edwin Lutyens have probably spotted at least one design from the English architect’s oeuvre: a carved oak bench. The eight-foot-long Thakeham bench, named for the 1902 West Sussex estate was designed and showed up in several influential projects across England, from Sissinghurst, in Kent, to Hestercombe, in Somerset. Years later, it would be referred to by many as simply the Lutyens bench. But aside from the surviving pieces themselves, many of which now remain ashy gray where Lutyens installed them, there are no records of the design, or how he arrived at it. “There’s a similar one that he must have seen at a [Christopher] Wren building in London,” muses his granddaughter Candia Lutyens.
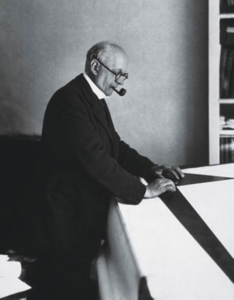
Lutyens, in the 1920s, in his office.
Courtesy of Hulton Deutsch
“But we know nothing more about where he got the idea. There is no surviving drawing.” Today, using the originals as a primary source, she produces the closest thing to an authentic Thakeham bench (among other notable Lutyens designs), relying on local oak and nearby manufacturers. Still, she’s quick to admit that there isn’t a huge market for the real deal, which costs more than $7,000: “I make it properly, so it costs ten times as much.” Many opt, rather, for one of the countless reproductions that flew onto the market after a Lutyens descendant allowed an original example to be reproduced in the 1970s. Modern renditions of varying quality, often bearing its inventor’s name without his masterly proportions and supple hand carving can be found everywhere from RH to Walmart. But among designers, Anglophiles in particular, there remains demand for Lutyens-level craftsmanship. “Oh, you mean the one that everyone has?” responds landscape designer Deborah Nevins when asked about the Thakeham bench. Though she prefers to specify the lesser-known Hestercombe bench, which she commissions from an English source, she can attest to the Thakeham’s enduring appeal: “The proportions are just perfect,” says the designer, who has used one in her own Long Island garden. “That’s how you can tell the authentic ones from the knockoffs.”
OUR WORK
A long-time client (of almost 20 years) has admired the design of this bench forever. She decided that an imitation knock-off was not an option, and wanted the design and joinery performed, as in the original version, from 1906. The classic design uses multiple mortise and tenon joints for superior appearance and strength over the long term. We considered using oak and teak wood, but decided upon clear western redwood cedar. Here are some highlights of the construction process:
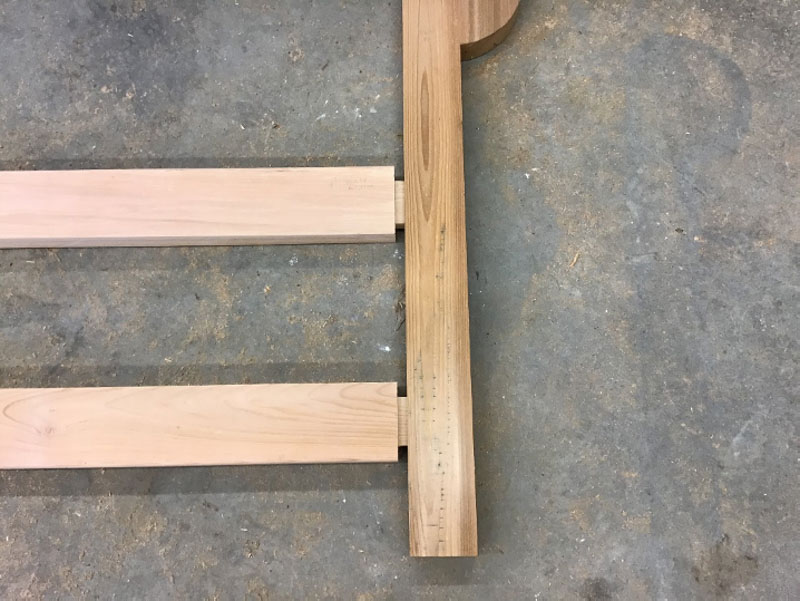
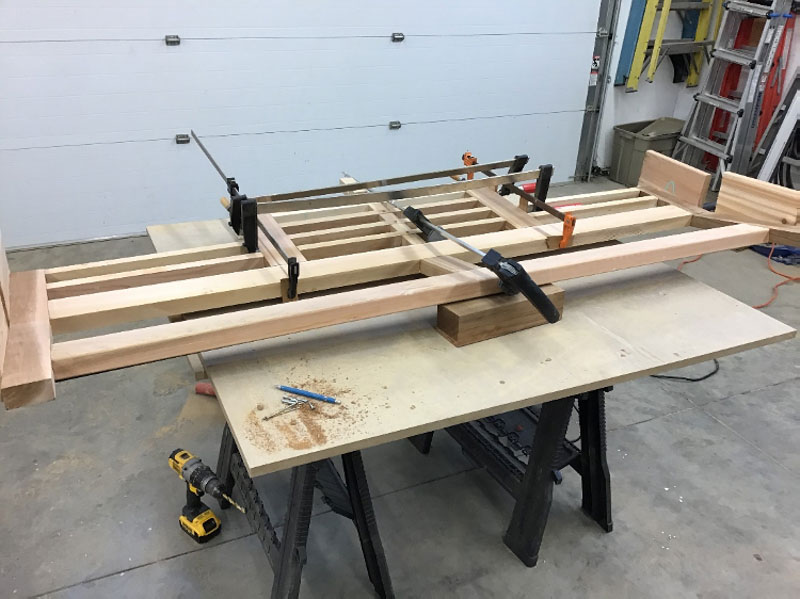
Above: A closeup of the front rail tenons that enter the mortises cut in the front legs. Joints must be perfect, but allow enough room for some wood glue. These are Hidden Mortise and Tenon joints.
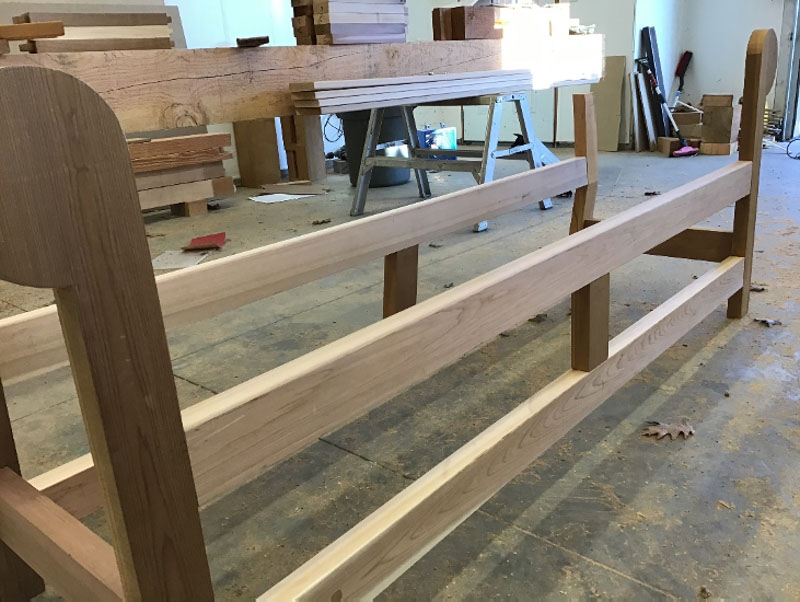
Above: The legs and rails are dry-fit assembled to ensure accuracy and proper fit. Note the rear legs are cut from a single 4×4 cedar post and angled to accommodate the rear bench crest.
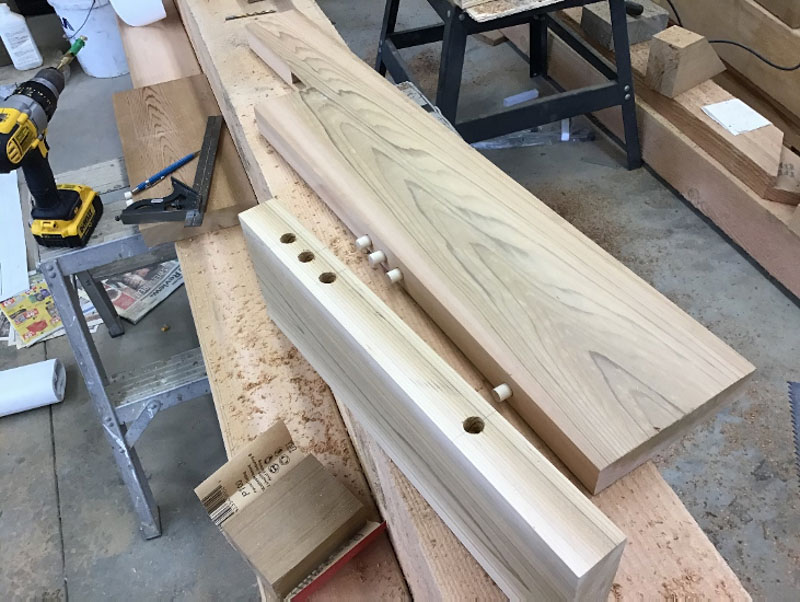
Above: The rear crest takes the most time to construct. A total of six (6) individual pieces are dowelled and glued together; then cut out using a bandsaw.
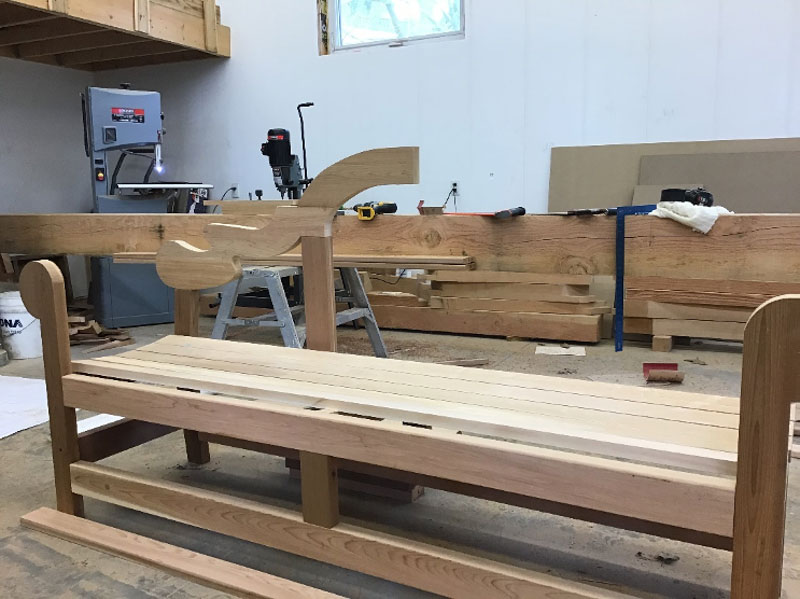
Above: The bench being dry assembled with half the rear crest in place.
Above: Gluing up the lower rear back.
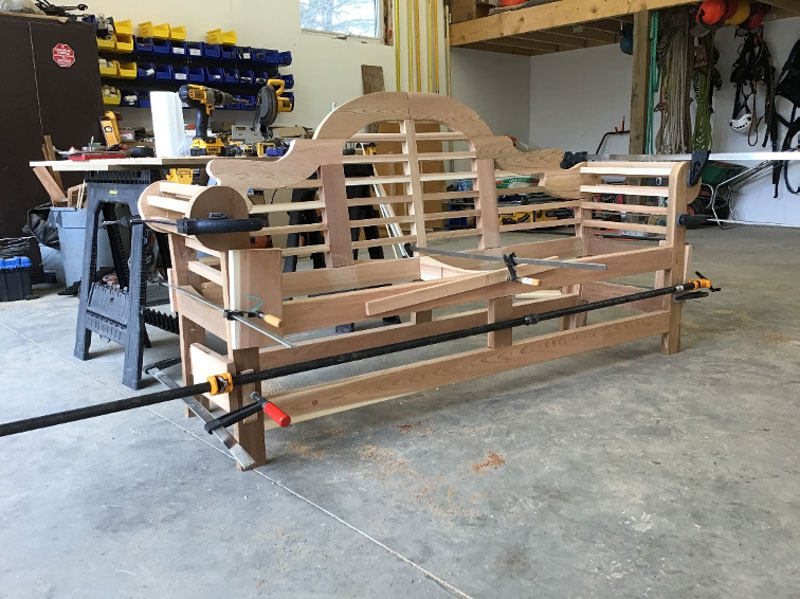
Above: Final glue stage. It took three (3) separate gluing sessions to get everything together. The seat slats were the last item to go on. Approximately 1 full day was spent just hand-sanding the bench to ensure every surface was 100% smooth.
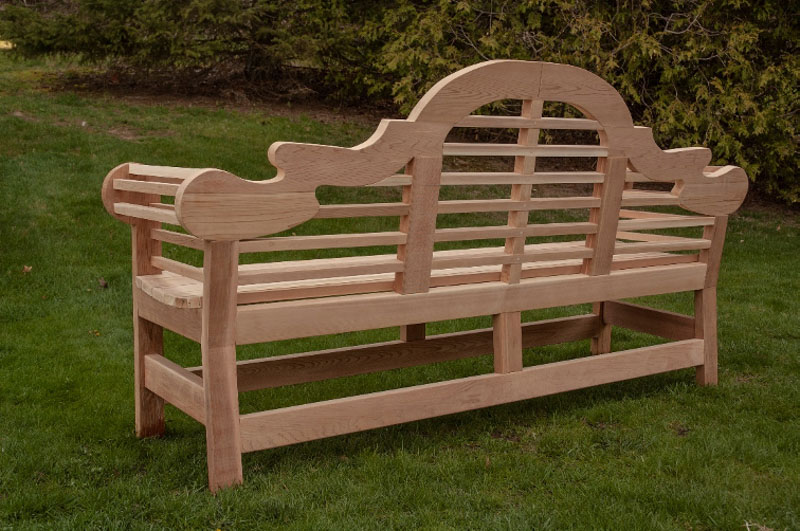
Above: The finished bench, before final staining and finish treatments.